

today while out visiting, i was asked to take a quick portrait of a friend, but i only had my compact Canon IXUS camera with me. now this isn’t a bad little camera for your purse… but when it comes to quality work, it doesn’t really cut it. sometimes this happens, and you have to grab a nice-looking photograph with whatever you have to hand:

here’s how i did it…
first of all, i needed to use the best light possible for the shot, so i took Norm (the subject) outside to an area of open shade, with good reflected light from the sunlit lawn. then i faced him at an angle to the camera, and had him turn his head towards me a little more, to create interest and present a flattering view.
unlike my DSLR cameras, my IXUS has no manual shooting controls; but it does have a 3x optical zoom (max focal length approx equal to 105mm on a 35mm camera). to avoid unflattering barrel distortion (seen with wide-angle photos, makes you look like… well, a barrel), i chose to zoom the lens in as far as it would go, and step well back to compose the shot. this also solved the problem of my reflection appearing in the subject’s glasses!
while i chatted a little to Norm to put him off-guard (as this impromptu photo shoot was not his own idea!) i composed and pre-focused the camera – important with compacts as they have a noticeable shutter delay – and when i saw a natural smile i grabbed the shot. i took a few shots to make sure of getting one that he would be happy with… and this was his favourite. so now i had the photo, and here’s what came out of the camera:
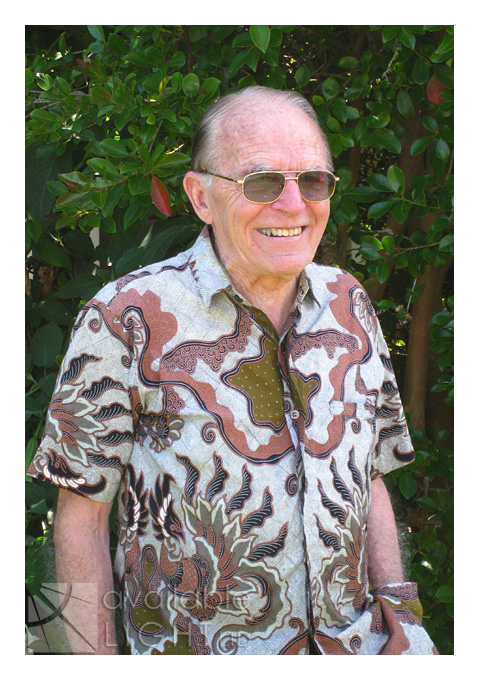
unfortunately, the result looks like what it is – a compact camera snapshot. so here’s what i did to make it more presentable (sorry but here i’m gonna assume a good working knowledge of Adobe Photoshop – plenty of other places cover the basics much better than i can in this blog).
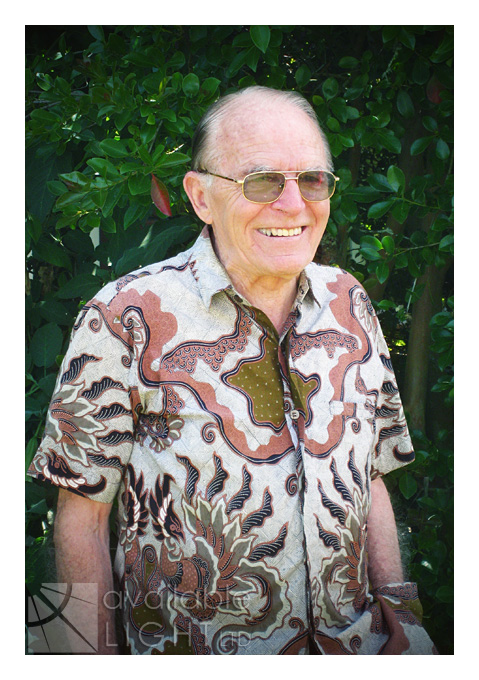
first of all, i ran ‘Pro Retouch’ on it (from Totally Rad Actions) and gently softened areas of the skin with a low-opacity brush. then i used the ‘Eye Bump’ layer from that same action, and slightly lightened the tinted glasses to reveal his eyes, and painted briefly over his teeth as well. then, i used the Colour Balance tool and adjusted the warmth of the photo by increasing cool green, blue and cyan tint on the tree behind Norm (leaving Norm his original colour with the history brush). i used the Curves tool and gave the photo a little more contrast and clarity overall. then, another action from Totally Rad, this time from their second set The Revenge: ‘Pool Party’, at just 20% opacity – and only applied to Norm himself (using layer masks), to remove some of the redness created by the camera, and even out his skin tones. and i added a light vignette to direct the eye to his face. here is the photo so far – looking a lot better, but still not done.
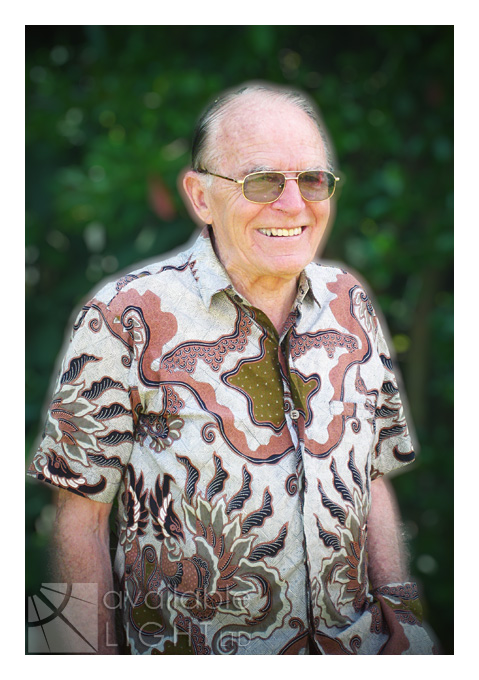
next, i needed to give Norm more separation from the background… with no control over aperture i was unable to shoot the way i normally would with my ‘wide-open’ lenses; and this put the whole photo into focus – fine for landscapes, but distracting for portraits. so i duplicated the whole layer, and ran the Extract filter on the top layer to manually erase the entire background. this is a fiddly job especially where fine hairs exist – if you erase them too, you end up with a cardboard cutout. the Extract filter often doesn’t do a very good job but this time it was acceptable with a bit of tweaking. then, on the underneath layer i ran ‘Bokeh’, a filter from Alien Skin which approximates the effect of wide aperture lenses. i experimented with the settings until the preview looked reasonably natural, and then applied the filter. this put the leaves out of focus – but of course it blurred Norm too and made his shape bigger than it was before, so that it showed up as a fuzzy pink glow all the way around his outline. and here’s what that looks like:
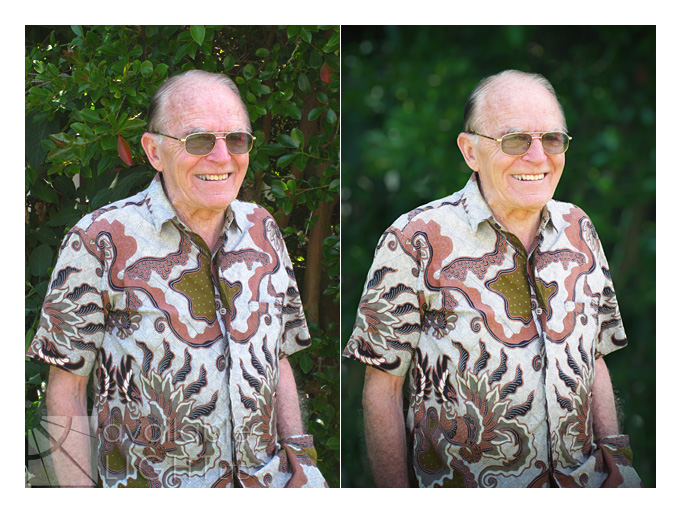
yeh, not good LOL. to fix that, i enlarged the leafy area on the bottom layer all the way around Norm to reduce the size of the glow; now the upper layer would hide it. a couple of tweaks (like removing the red reflection from the left of his glasses) – and i’m done. and here is the before and after shot together for comparison:
this method will never produce as good a result as using the proper equipment from the start – but it can help rescue a situation where sometimes a snapshot is all you have to work with, and you’ve just got to do your best. if you have any questions please feel free to comment 🙂
THIS IS AWESOME:-) Thanks for sharing how you did that…I was like woah how did you get the background bokeh…..cool man cool.
Very easy to understand!
Extra nice work with both photo shoot & method explained to get there… 🙂
thanks guys…
hey bob 🙂 yeh i don’t use PS lens blur anymore, you dont have as much control over the result
pretty good, you missed blurring that small segment of this glasses though.
Photoshop has a filter for Lens Blur – Filters>Blur>Lens Blur (so you don’t have to purchase any additional filters
I likey. Very nice work. 🙂
go you 🙂 nice post … nice makeover 🙂